Installing Ansible Semaphore on [Ubuntu Server](/blog/centralize-all-your-logins-with-authentik-ultimate-sso-for-linux) 24.04 for Better Linux Automation
If you already use Ansible, you know how powerful it is. You also know that once your playbooks, inventory, credentials, and server targets start growing, things can get messy fast. That is where Ansible Semaphore comes in.
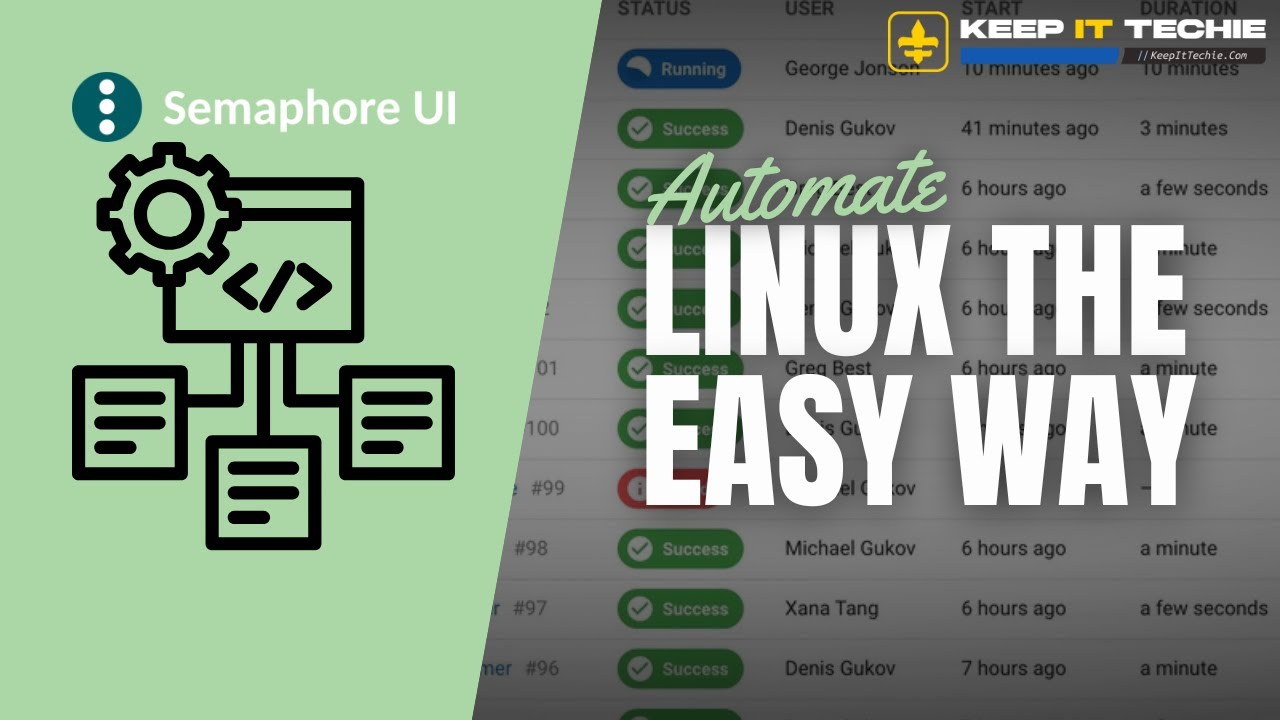
Semaphore is positioned here as an open-source web UI for managing Ansible playbooks, and that alone makes it worth paying attention to. Instead of keeping everything tied only to terminal workflows, you get a more visual, organized way to work with your automation. For homelab users, people managing production servers, and even folks who are still learning Ansible, that can be a huge quality-of-life improvement.
This setup focuses specifically on Ubuntu Server 24.04, and the goal is straightforward: get Semaphore installed, walk through the initial configuration, and understand how its core pieces fit together so automation is easier to manage.
Why Semaphore matters
The biggest value here is not that Semaphore replaces Ansible. It helps you manage Ansible better.
That distinction matters.
Ansible is still the engine doing the automation work. Semaphore gives you a web-based layer for organizing and running that work in a cleaner way. If your current setup is mostly command line driven, that can be great for speed and flexibility, but not always great for visibility or structure.
Semaphore helps make automation more:
- visual
- organized
- approachable
- easier to manage over time
That matters whether you are maintaining a few Linux boxes in a homelab or dealing with a larger set of systems in production. It also matters if you are learning Ansible and want a way to understand projects and automation flow without everything living only in shell history and text files.
The focus of this setup
The walkthrough centers on these stages:
- why Semaphore is useful
- installing Semaphore on Ubuntu Server 24.04
- configuring the database and setup wizard
- logging in for the first time
- touring the web UI
- understanding projects, inventory, and keys
- applying some best practices
- looking at a GitHub playbook demo
Even without diving into every command here, that sequence tells you exactly what kind of deployment experience to expect. This is not just an install-and-forget tool. You install it, complete the initial configuration, and then begin structuring your automation around a few core concepts inside the interface.
Installing Semaphore on Ubuntu Server 24.04
The install target is clearly Ubuntu Server 24.04, which is a good fit for this kind of self-hosted automation tool. The practical takeaway is that Semaphore is being treated like a serious service for Linux administration, not a throwaway desktop test.
The install portion is its own major part of the workflow, and that is important because tools like this are only useful if the initial setup is reasonable. Once Semaphore is installed, the real value starts showing up in the configuration phase and the web UI.
If you are setting this up in a home lab, Ubuntu Server 24.04 gives you a modern base to work from. If you are doing this in a more professional environment, the same idea applies. Start with a clean, reliable server and build your automation control layer on top of it.
Database configuration and the setup wizard
One of the key stages called out is configuring the database and setup wizard.
That is a strong signal that Semaphore is not just a single binary you launch and forget about. There is some first-run configuration involved, and that is where a lot of people tend to get tripped up with self-hosted admin tools.
The big lesson here is simple: do not treat the setup wizard like an afterthought.
When a tool depends on database configuration and initial setup choices, those decisions shape how clean and usable the environment will be afterward. If you rush through this stage, you can easily create confusion for yourself later when you start adding projects, inventory, or credentials.
Gotcha to avoid
A very real mistake to avoid here is blasting through the database and setup wizard without thinking about structure first.
Because Semaphore is meant to organize your Ansible workflow, the initial setup is part of that organization. If you go in without a plan for how you want to manage playbooks and access, you are more likely to end up with a messy deployment that does not feel much better than staying in the terminal full time.
That does not mean you need a giant enterprise design before you begin. It just means you should slow down enough to understand what the setup is asking for and how it connects to the way you plan to use Ansible.
First login and the web UI tour
After setup, the next milestone is the first login and web UI tour. This is where the value of Semaphore becomes easier to appreciate.
A web UI changes the experience of automation management in a big way. Instead of thinking only in terms of command execution, you begin thinking in terms of:
- projects
- infrastructure targets
- access methods
- reusable playbooks
- operational organization
That is one of the reasons Semaphore can be such a strong fit for people moving beyond basic Ansible usage. Once your environment grows, being able to see the structure of your automation in a dedicated interface can make the whole system easier to reason about.
For newer users, that visual aspect also lowers the friction. It gives you a place to connect the moving parts instead of mentally stitching everything together from separate files and commands.
Projects, inventory, and keys explained
This is really the heart of using Semaphore.
The walkthrough specifically calls out projects, inventory, and keys, and those are exactly the kinds of building blocks that determine whether your automation setup stays clean or turns into chaos.
Projects
Projects are where organization starts to become real.
A project-based structure helps separate workloads and keep things easier to manage. If you are automating multiple environments or different categories of systems, having a project model gives you a cleaner way to group related playbooks and settings.
Even at a small scale, this helps. A homelab often grows faster than expected. One minute it is a few systems, and the next minute you have container hosts, media services, monitoring, backups, and test machines. Grouping work by project keeps things readable.
Inventory
Inventory is fundamental to Ansible, and that continues here.
Semaphore is not useful unless it can help you manage where your automation is being applied. Inventory is how you define those targets. In practical terms, this is what allows your playbooks to map to real systems and groups of systems.
A better interface around inventory can save time and reduce mistakes, especially when you are working across multiple Linux servers.
Keys
Keys are another major piece, because automation without a clean credential strategy quickly becomes painful.
The fact that keys are called out directly tells you Semaphore is not just about clicking a button to launch a playbook. It is also about managing the access layer that makes those playbooks work.
That is one of the hidden advantages of a tool like this. It encourages you to think about automation as a complete operational workflow, not just a pile of YAML files.
Best practices and the GitHub playbook demo
The walkthrough also includes tips, best practices, and a GitHub playbook demo, which is important for two reasons.
First, it shows that Semaphore fits naturally into a workflow where playbooks live in version-controlled repositories. That is a much better long-term pattern than keeping automation scattered in random directories.
Second, it reinforces the idea that Semaphore works best when it is part of an organized process.
That process looks something like this at a high level:
- Keep your playbooks structured.
- Organize work into projects.
- Define inventory carefully.
- Manage keys deliberately.
- Use a central interface to run and oversee automation.
That is the kind of setup that scales better over time.
Who this is really for
What I like about this setup is that it is clearly aimed at more than one type of Linux user.
Homelab users
If you are running multiple systems at home, Semaphore gives you a cleaner control point for automation. That makes repetitive admin tasks easier to manage and easier to revisit later.
Production admins
If you manage production servers, having a more organized and visual approach to playbooks can help with consistency and oversight. The key point is not that a UI magically solves everything. It is that a UI can make existing automation workflows easier to operate.
People learning Ansible
This may be one of the most underrated use cases.
Learning Ansible can feel abstract when everything lives in text files and command syntax. A tool like Semaphore can make the relationships between playbooks, inventory, and access easier to understand because you can actually see the structure of the environment.
What not to expect
It is also worth being realistic.
Semaphore is not presented as a replacement for understanding Ansible. It is a management layer for it. You still need to know what your playbooks do, how your inventory is structured, and how access to your systems is handled.
So if you are expecting a web UI to remove the need for Ansible knowledge, that is the wrong mindset. The better mindset is this: Semaphore helps you bring order and visibility to your Ansible workflow.
Final thoughts
If your Linux automation is starting to outgrow a simple terminal-only workflow, Semaphore looks like a smart next step. Running it on Ubuntu Server 24.04 gives you a practical platform, and the real benefits show up once you start using the web UI to manage projects, inventory, keys, and playbooks in a more structured way.
That is really the takeaway here. Semaphore is not just about making Ansible prettier. It is about making automation easier to organize, easier to understand, and easier to manage over time.
And honestly, that kind of improvement can change the way you run Linux servers.
Catch you in the next one.
~ KeepItTechie