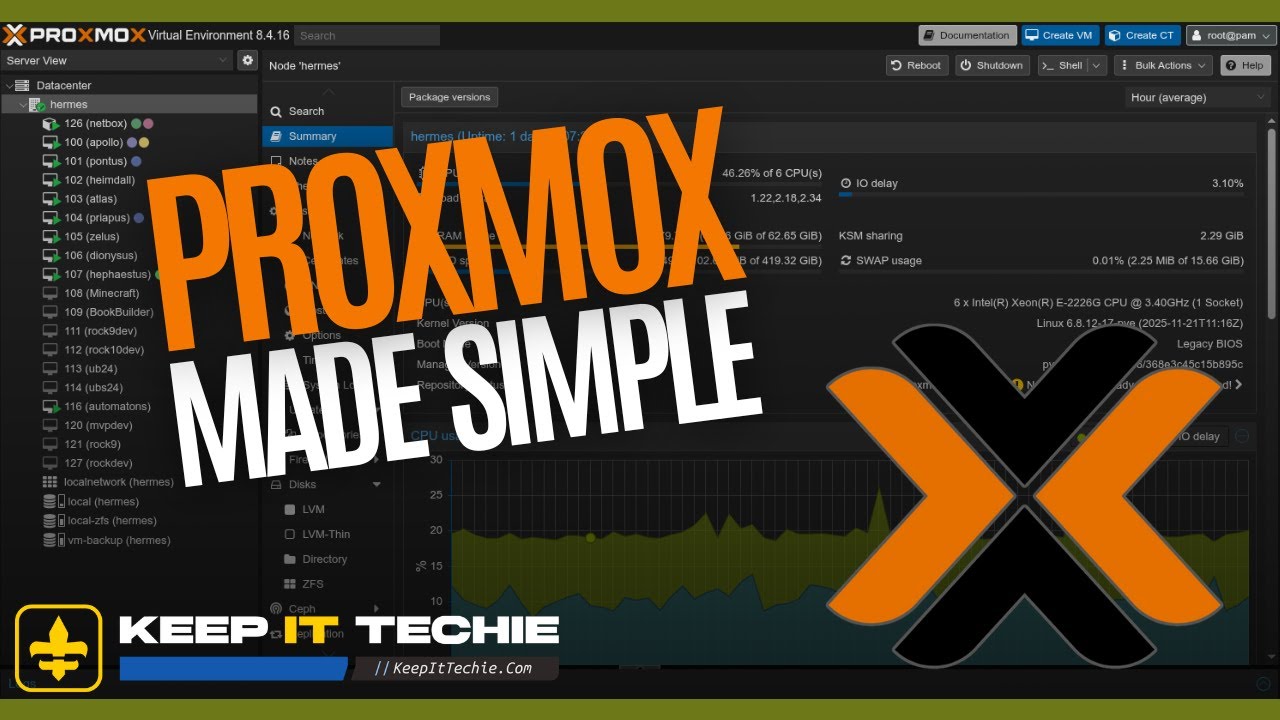
Proxmox for Beginners: Building a Clean Home Server Foundation
Proxmox is one of those tools that opens a lot of doors once you get it set up right. It gives you a solid base for running virtual machines, Linux containers, backups, shared storage, and all the self-hosted projects people eventually want in a home lab. The problem is that the first setup can feel like a lot when you are new.
What I wanted to focus on here is the right way to build that foundation without turning your first Proxmox install into a frustrating science experiment. The goal is not to chase every advanced feature on day one. The goal is to get a clean, stable install you can actually build on.
Start with the basics before you install
Before even getting into the install itself, it helps to think of Proxmox as infrastructure, not just another app you throw on a machine. This is going to be the platform that hosts other things, so a little planning up front saves you a lot of pain later.
The setup path covered here starts from scratch and keeps the beginner experience in mind. That means getting the initial install done, making sure networking is stable, cleaning up updates, connecting storage if you have a NAS, setting up backups, and then proving the environment works by launching your first VM and your first Linux container.
That order matters.
A lot of beginners want to skip straight to deploying services. I get it. Spinning up something useful is the fun part. But if you do not have the base system squared away first, every future step gets harder.
Installing Proxmox without overcomplicating it
The install process in the video starts with the practical decisions that matter most to beginners: disk choice, filesystem choice, and network setup.
One big early topic is ext4 vs ZFS. That is a real choice during setup, and it is one of the first places new users can get stuck. The key takeaway is not that one option is always universally better. The key is that this is a decision you should pay attention to during installation because it affects the foundation of the system.
If you are brand new, the mistake to avoid is clicking through the installer without understanding that storage layout and filesystem decisions are part of the long-term design of your home server. Even if you keep your setup simple, be intentional here.
Networking is the other big piece during installation. Since this is a server, stable network access matters right away. Proxmox is something you are going to manage over the network, so your network settings are not just a minor checkbox during setup. They are part of whether your experience is smooth or annoying.
First boot and the web login experience
Once Proxmox is installed, the next milestone is your first boot and logging into the web interface.
This is where beginners often hit something that looks scary but is actually normal: the self-signed certificate warning. That warning can make people think something is broken or unsafe in a way they did not expect. For a fresh self-hosted setup, seeing that warning is not unusual.
The gotcha here is simple: do not mistake the self-signed certificate prompt for a failed install. It is part of the early setup experience and something you should expect when accessing the Proxmox web interface for the first time.
Once you are in the UI, the main objective is to get familiar with the layout and understand that this is where most of your day-to-day Proxmox management is going to happen.
Keep the IP address stable from the start
One of the smartest beginner steps in the workflow is setting a DHCP reservation so the server keeps a stable IP address.
This is one of those small details that feels optional until it bites you later. If your Proxmox server gets a different IP from your router, suddenly your bookmarks break, your mental map of the environment gets messy, and troubleshooting becomes more annoying than it needs to be.
If you want a home server that feels dependable, stable addressing is part of that.
This is also a great example of doing things the right way instead of the rushed way. You can technically get by without handling this early, but you are setting yourself up for unnecessary confusion. For a beginner build, a stable IP is one of the easiest wins you can lock in.
Learn the UI, then fix repositories before updating
After first login, the next step is getting comfortable with the Proxmox interface and then dealing with repositories.
This is important because updates are part of building a clean and stable host, but the workflow in the video makes it clear that you should handle repositories first and then update Proxmox the right way.
That sequencing matters.
A beginner mistake to avoid is jumping straight into updates before cleaning up the repository situation. If the setup flow specifically calls out fixing repositories and then updating, that tells you this is not busywork. It is part of preparing the system properly.
This is one of the strongest themes in the whole setup process: avoid random clicking and follow a deliberate order. Install, access the UI, stabilize networking, fix repositories, then update. That is how you reduce stress and avoid creating avoidable problems on day one.
Add storage that actually helps your workflow
Storage is where Proxmox starts to feel like a real platform instead of just a fresh install. The setup covers NAS storage with NFS, specifically for ISOs and backups.
That is a practical use case and a smart one for a home lab. ISO storage gives you a better place to keep install media, and backups are one of the most important parts of a stable environment. Having NFS-backed storage available from a NAS can make that workflow cleaner and more flexible.
This is also a nice reminder that not all storage inside your Proxmox world has to live only on the local machine. If you already have NAS hardware in your setup, using NFS for shared storage tasks can be a really useful part of the design.
The important point here is not to overcomplicate storage on day one. The focus is very practical: get storage connected in a way that supports the things you are actually going to do next, like keeping ISOs handy and storing backups.
Automatic backups are not optional if you care about your lab
One of the best signs of a healthy Proxmox setup is that backups are part of the initial foundation, not an afterthought.
That matters because beginners often treat backups like something they will come back to after the fun stuff is done. Then a mistake happens, a test breaks a VM, or a container gets wiped, and suddenly they realize they built a lab with no safety net.
The setup flow here includes configuring automatic backups, and that is exactly the right mindset. If Proxmox is going to host things you care about, backups should be part of the environment from the beginning.
Even for a learning lab, backups save time. They let you experiment more confidently because you know you have a way back if something goes sideways.
Create your first virtual machine
Once the host is installed, updated, and connected to useful storage, it is time to actually use it. The first major workload is creating your first virtual machine.
This is a big moment because it proves the platform is more than just a control panel. You now have the ability to deploy a full guest operating system and start building real services or test environments inside your home lab.
The video also calls out the QEMU Guest Agent, which tells you it is an important part of the VM workflow being demonstrated. If that piece is included in the first VM setup, it is worth treating as part of the proper build process rather than an optional detail to ignore.
For beginners, this is a good mindset shift: a VM is not just about clicking Create and powering it on. There are support components and best practices around it that help the VM work better inside Proxmox.
Create your first LXC container
The setup does not stop at VMs. It also walks through creating your first LXC container, which is a really useful part of the Proxmox ecosystem.
This matters because one of the strengths of Proxmox is that it gives you both virtual machines and Linux containers in one place. That means you can choose the right level of isolation and overhead depending on what you are trying to run.
The video specifically mentions privileged vs unprivileged containers, and that is a detail beginners should pay attention to. If that distinction is highlighted during your first container setup, it means it is an important concept and not something to blindly skip past.
A very practical mistake to avoid is treating privileged and unprivileged containers like they are interchangeable without understanding the difference. Even if you are keeping things simple at first, that choice is clearly significant enough to be part of the initial container walkthrough.
Why this setup order works so well for beginners
What I like most about this beginner path is that it builds confidence in the right order.
You are not just learning how to install Proxmox. You are learning how to set up a usable Proxmox host:
- install it cleanly
- make networking stable
- understand the web interface
- fix repositories
- update properly
- add useful storage
- configure backups
- deploy a VM
- deploy a container
That progression makes sense because each step supports the next one. By the time you get to launching workloads, you are doing it on a base that already looks more like a real home server and less like a temporary test box.
That is the right way to start a homelab if you want something you can keep growing over time.
What this gives you going forward
By the end of this setup, you are not expected to have a giant production environment. You are expected to have something more important than that: a stable foundation.
And that foundation is what lets you start exploring self-hosted apps, homelab services, and general tech learning without constantly fighting your platform.
If you are brand new to Proxmox, that is the win. Not perfection. Not maximum complexity. Just a clean build you understand well enough to trust.
That is how you remove the stress from getting started.
Keep it techie, and I’ll catch you in the next one.
~ KeepItTechie